Slim Pickens does the RBD thing
Hi all.
During my last Dynamic Simulation R&D session, I decided to make a little tribute video for The Offspring, as an old data fan, using the track "Slim Pickens does the right thing and rides the Bomb to hell" from "Days go By".
The basic concept was pretty simple: to have some dynamic simulation follow the beat of the music.
I ended up using a simulation for the first main part, and some Vex for the last piece of animation. The first 6 seconds were added at the end (it seemed a pity to not use the start of the song).
I ended up using a simulation for the first main part, and some Vex for the last piece of animation. The first 6 seconds were added at the end (it seemed a pity to not use the start of the song).
The beginning is super simple, just a camera and light animation; the only thing worth mentioning here is that initially I was using a procedural workflow to generate the geometry for the lights and use it as Mesh Light, but apparently on this scale and with these many lights, without increasing the Light and Volume sample to some very high value like 4096, the generated noise was too much. So I ended up creating a bunch of standard Rs Area Lights.
The Simulation
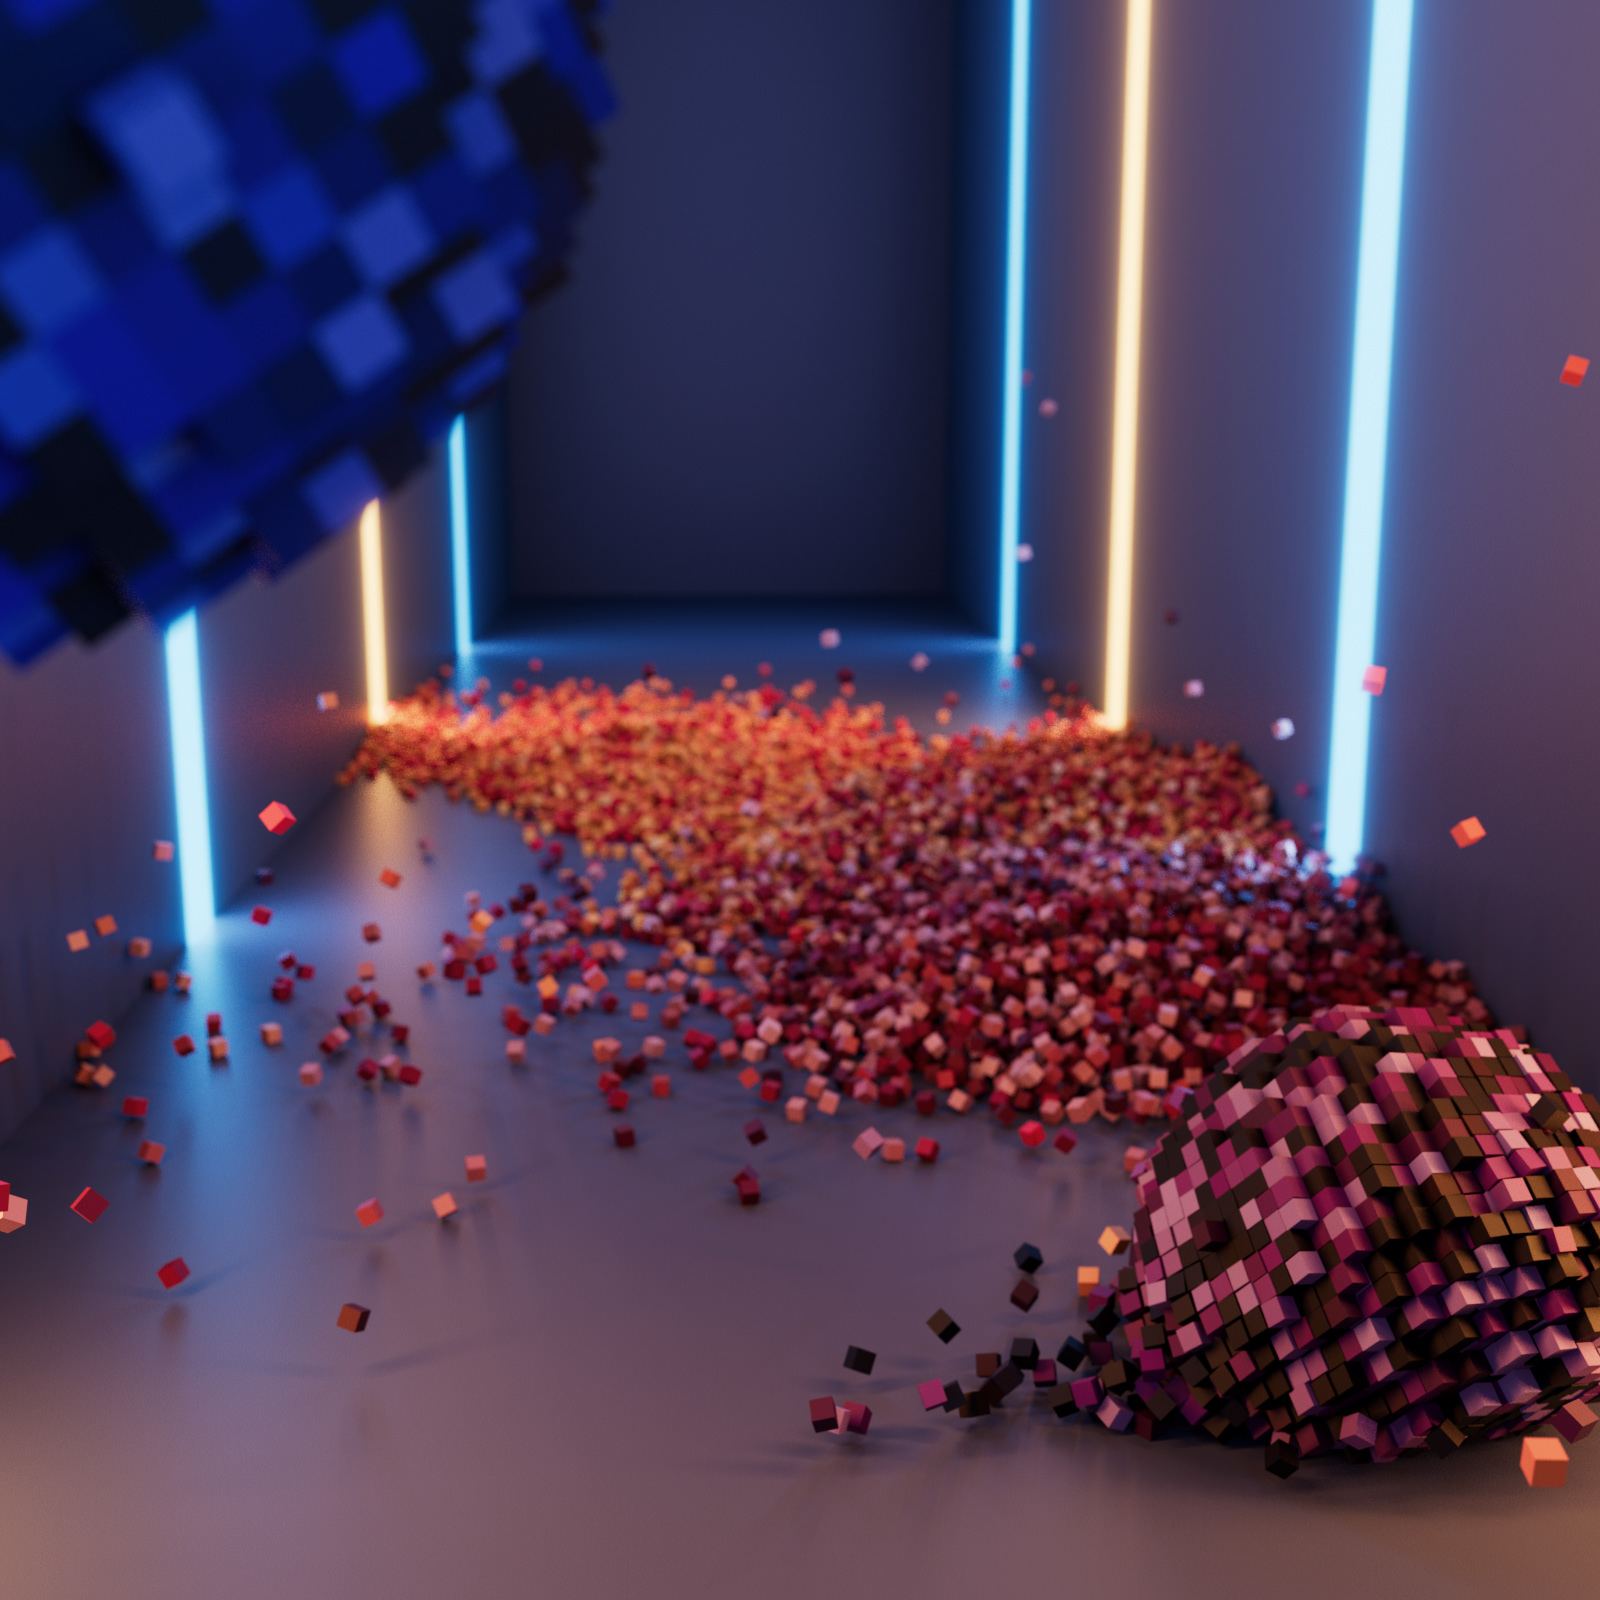
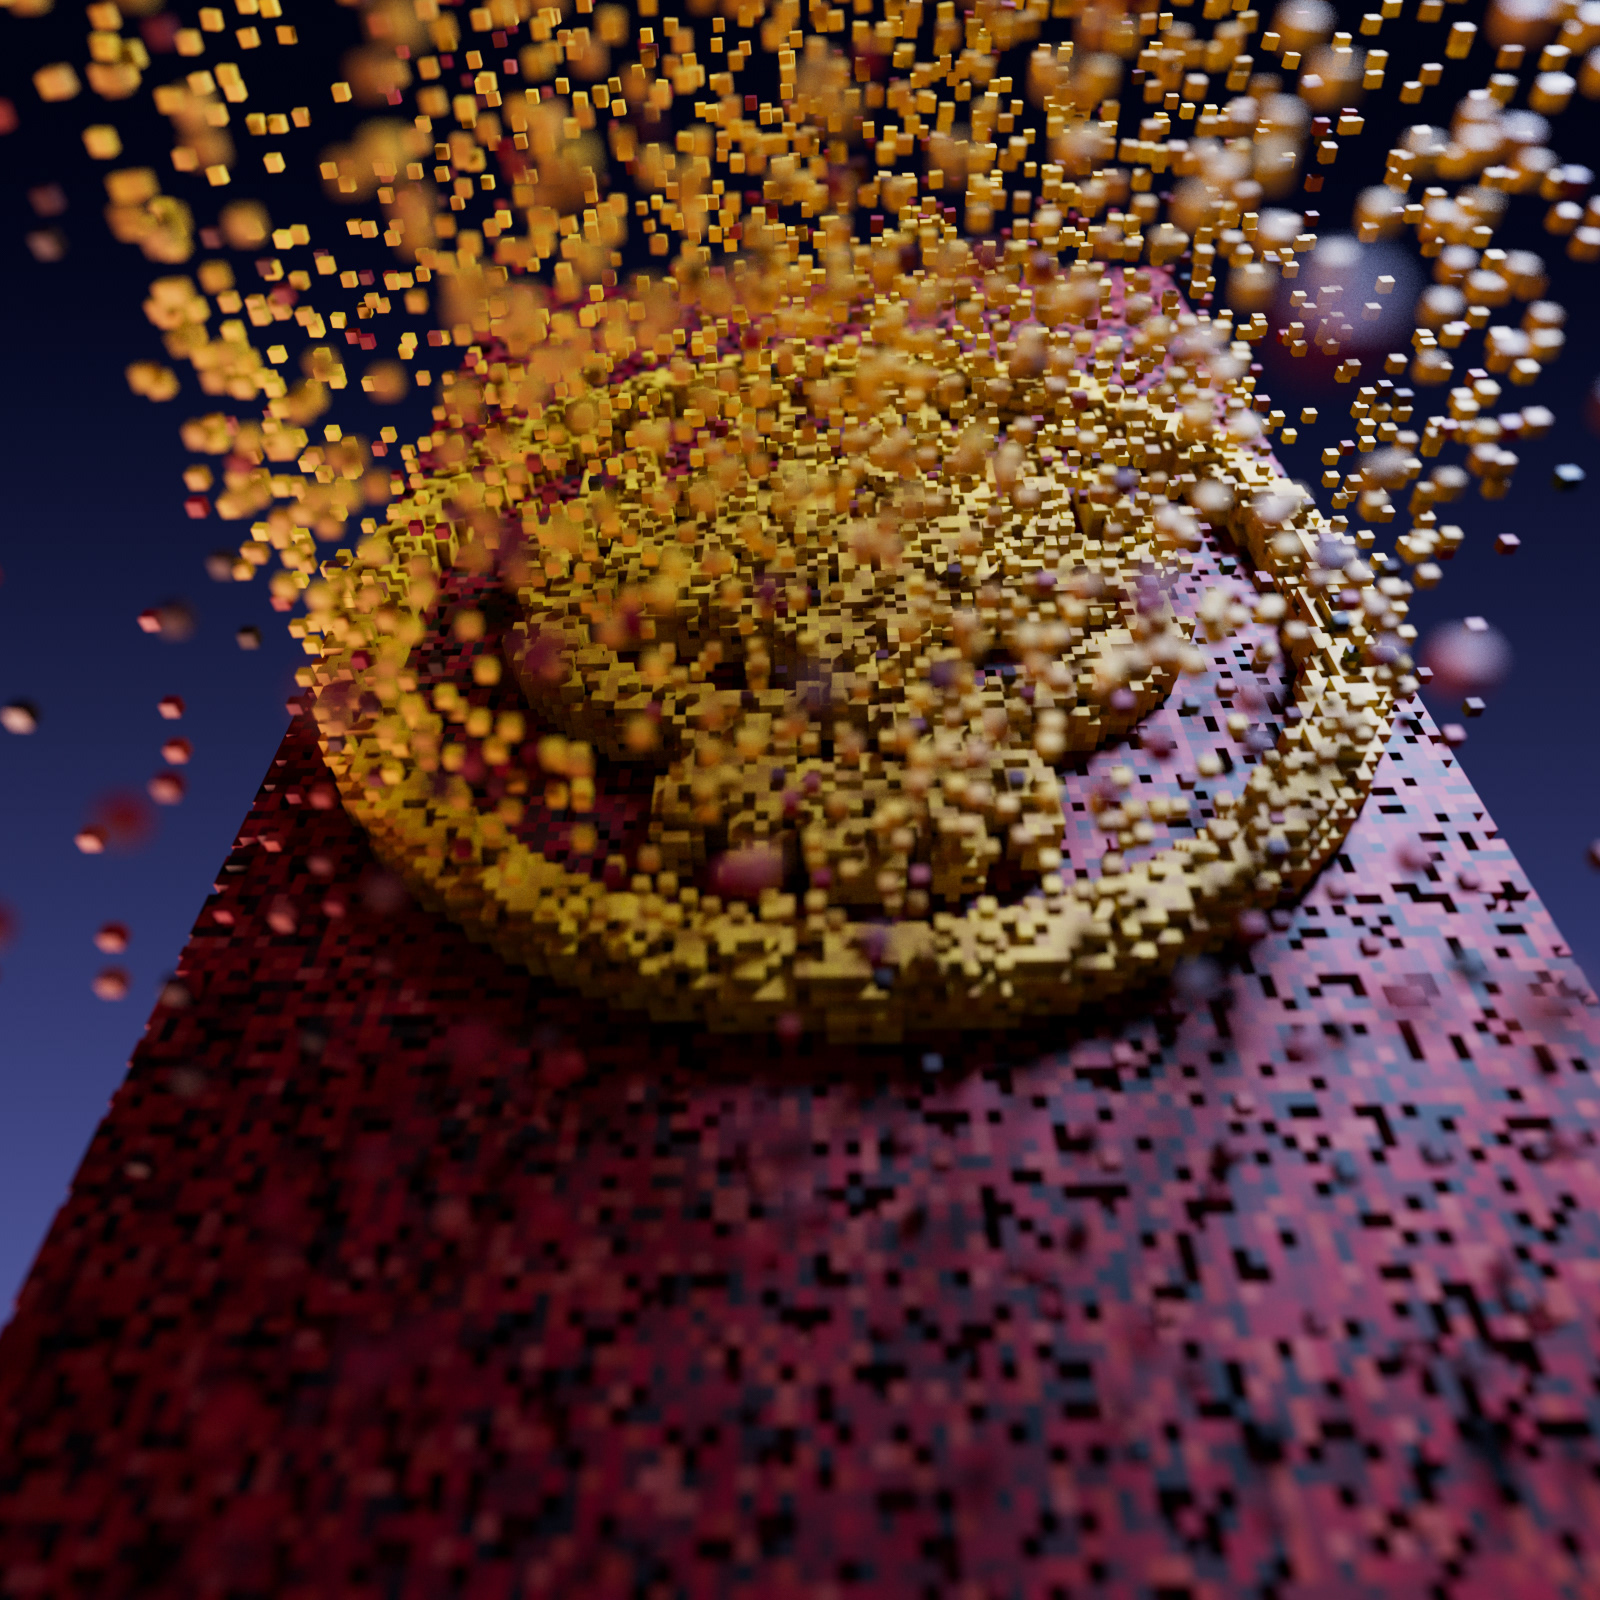
For the simulation, the first task was to create my Rbd objects. I wanted a voxel effect so I generated some cubes from a Sphere with a Points From Volume. I needed something flexible to have a lighter version to work with, so linking the single cube scale to the PointFromVolume PointSeparation did the trick.
Houdini Rigib Body Solver usually define automatically the mass of an object, based on the size of it(and other stuff if you use RbdConfigure), so changing the PointSeparation the scale of a cube would change, and the simulation would end up having different behaviour. The solution was just to manually define the mass before the simulation.
Houdini Rigib Body Solver usually define automatically the mass of an object, based on the size of it(and other stuff if you use RbdConfigure), so changing the PointSeparation the scale of a cube would change, and the simulation would end up having different behaviour. The solution was just to manually define the mass before the simulation.
For the emitting part it was a bit tricky.
The emitter itself was pretty simple. It's just a animated grid with a Scatter that's mostly set to 1 point or 5 for the 2 beat where 5 balls are generated. I also randomized the Orient to have different rotation on the spheres, which I previously defined in Vex along with the Up.
The emitter itself was pretty simple. It's just a animated grid with a Scatter that's mostly set to 1 point or 5 for the 2 beat where 5 balls are generated. I also randomized the Orient to have different rotation on the spheres, which I previously defined in Vex along with the Up.
Now, the new Rbd Bullet Solver has the built in feature to emit rbd, but I did a lot of testing, and I decided to use the classic Dop Network to have more control over it.
So, to emit Rbd within the Dopnet, you need to use an rbdpackedobject leaving the SOP path empty and a popsource with Emission Type set on "All Geometry".
So, to emit Rbd within the Dopnet, you need to use an rbdpackedobject leaving the SOP path empty and a popsource with Emission Type set on "All Geometry".
This would emit an Rbd every frame, and I needed to emit along with the music. I simply calculated I needed an Rbd to be emitted every 10 frames and to completely turn off after frame number 300 , so I used "if($FF<ch("stop"),$FF%10==1, 0)" as an expression on the Birth parameter of the PopSource.
If your not familiar with the modulus operation or houdini variables, this expression simply return a value of 1 every 10 frame until frame 300. The rest of the time return 0 (which turns off the emission).
If your not familiar with the modulus operation or houdini variables, this expression simply return a value of 1 every 10 frame until frame 300. The rest of the time return 0 (which turns off the emission).
For the collider I created some thickness from the rendered version of the container; that gave a big improvements to the collision solving. Of course being the back wall animated, Use Deforming Geometry needed to be turned on.
I animated the Gravity and a Wind to get all the animation I needed, and used a PopSpeedLimit to limit the maximum spin of the cubes.
A huge optimitation of the simulation was due to a SopSolver I created inside the DopNet, where I disabled all the collision and re-enabled only when a certain age was reached. In this way, the simulation was super fast when the spheres were still falling.
A huge optimitation of the simulation was due to a SopSolver I created inside the DopNet, where I disabled all the collision and re-enabled only when a certain age was reached. In this way, the simulation was super fast when the spheres were still falling.
A sad note here: I spent a whole day of testing with the intention to cache out only the points for the simulation to have a lighter cache and I couldn't find a way to make it work. Somehow, the initial randomize for the Orient attribute on the Emitter, seemed to mess up the initial orientation for the cached points, and I couldn't find another way to randomize the whole spheres orientation. So, long story short, I had to cache the whole geometry simulation (not so overwhelming being Packed Geos).
For the color, I used a MOPS falloff node based on the the Age and added a noise with a Wrangle node.
The Animated Part
For the second part, it's all animated with Vex.
The concept was to create an animation interpolating the last frame of the simulation with the final geometry.
The last one was to create the voxel version of The Offspring logo using a Trace one, and a box for the background. The key thing here was to have the same amount of cubes I had in the simulation, so I manually "art directed" some cubes to delete on the final geometry.
Once I had both my starting geometry and my final one, it's all done inside a Wrangle node. I made some variable for the starting and ending position and color with a Point Function; for the rotation I used the Intrinsic "Transform" attribute using some matrixes. All of those are animated with a Lerp function (or Slerp for the matrixes), which interpolate the two values. For the amount of interpolation, I used a MOPS Object Falloff.
That's pretty much all about the setup. I created the camera animation, some basic Redshift Material using the Point Color attribute and some AOV for the compositing.
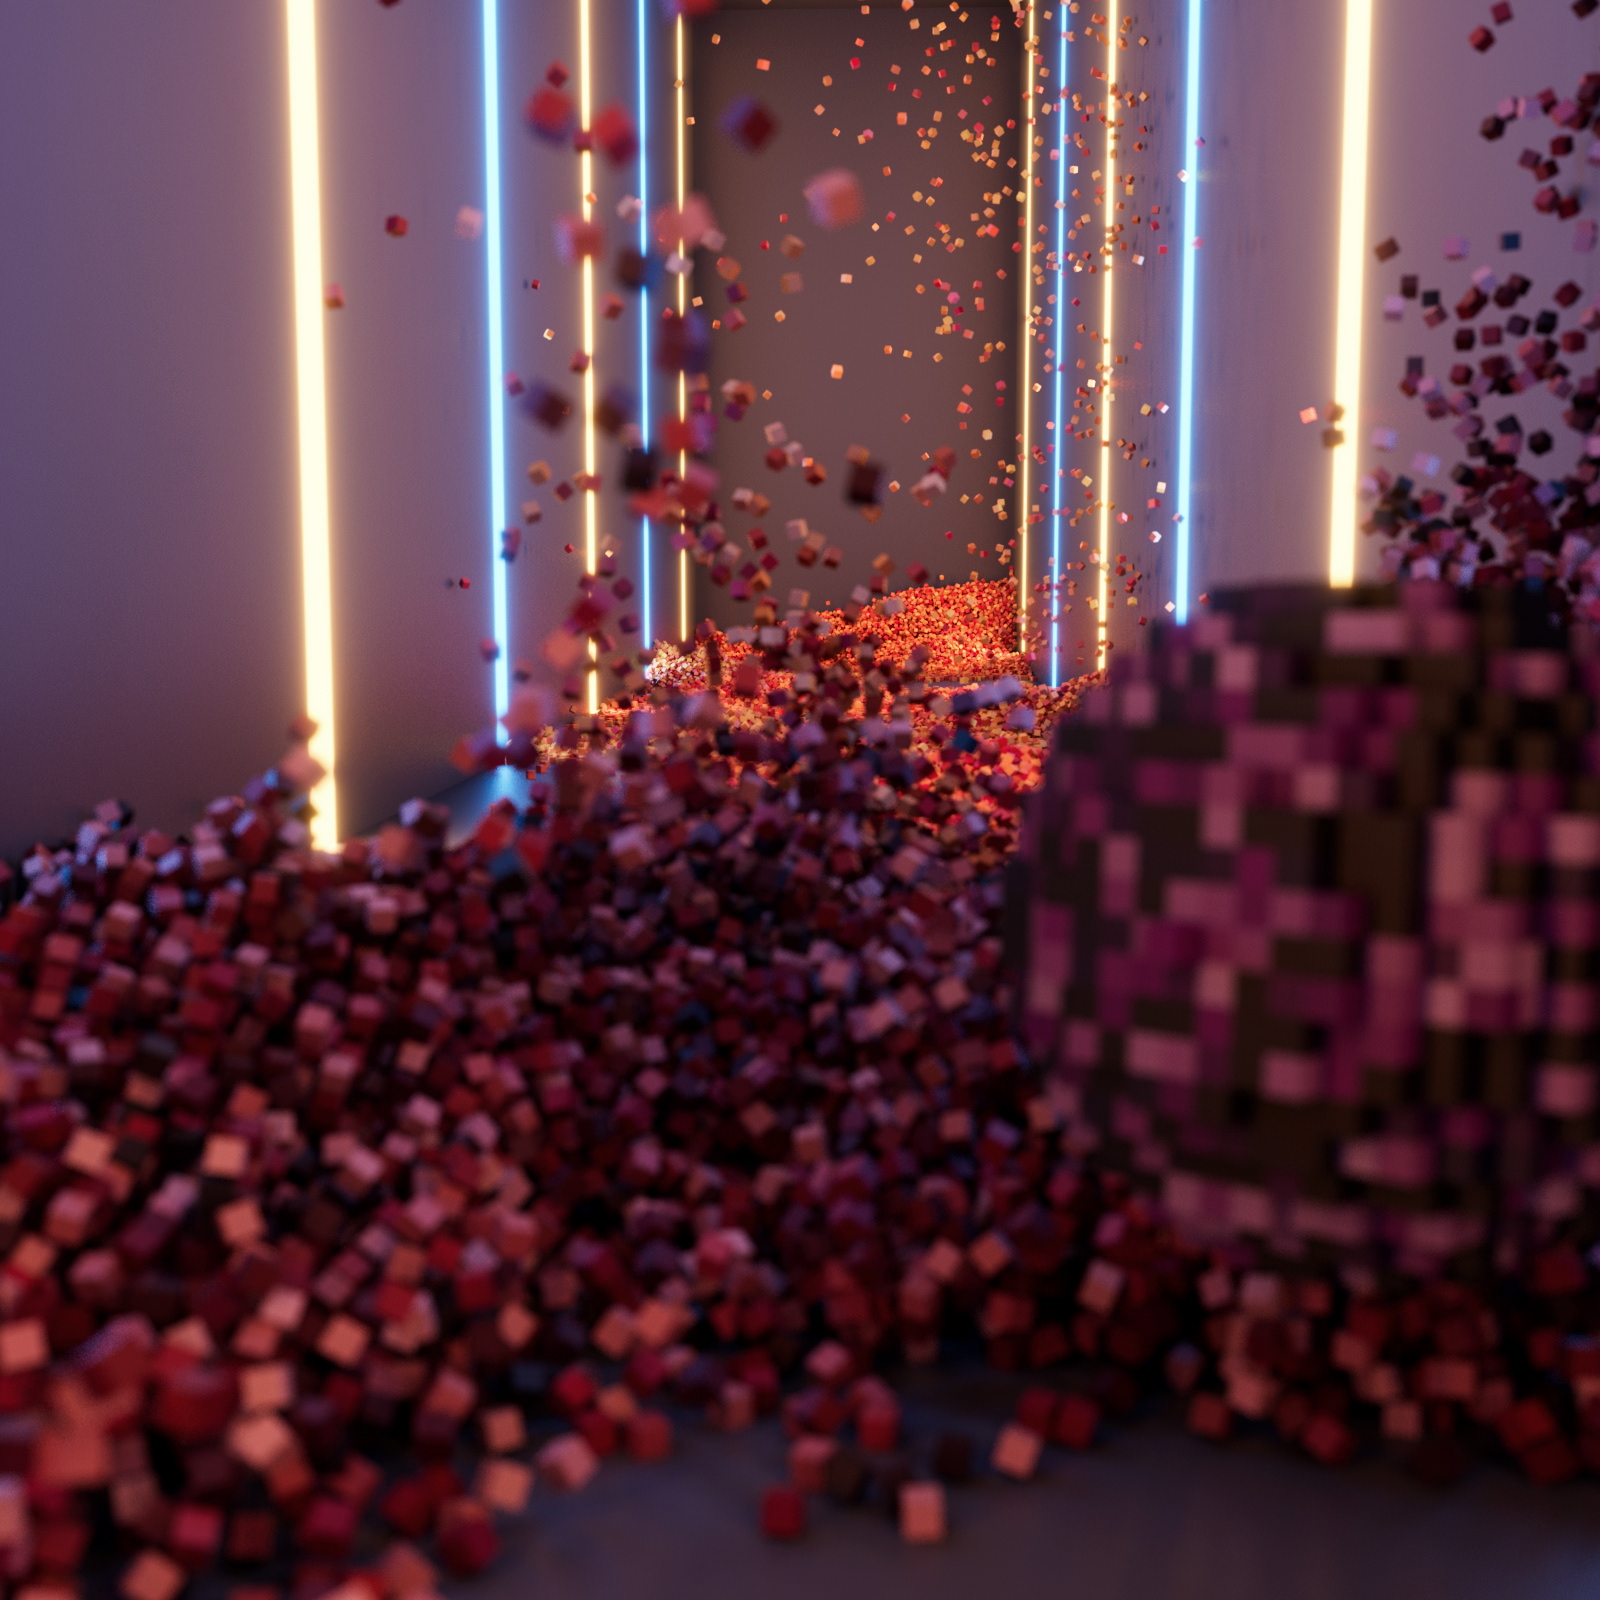
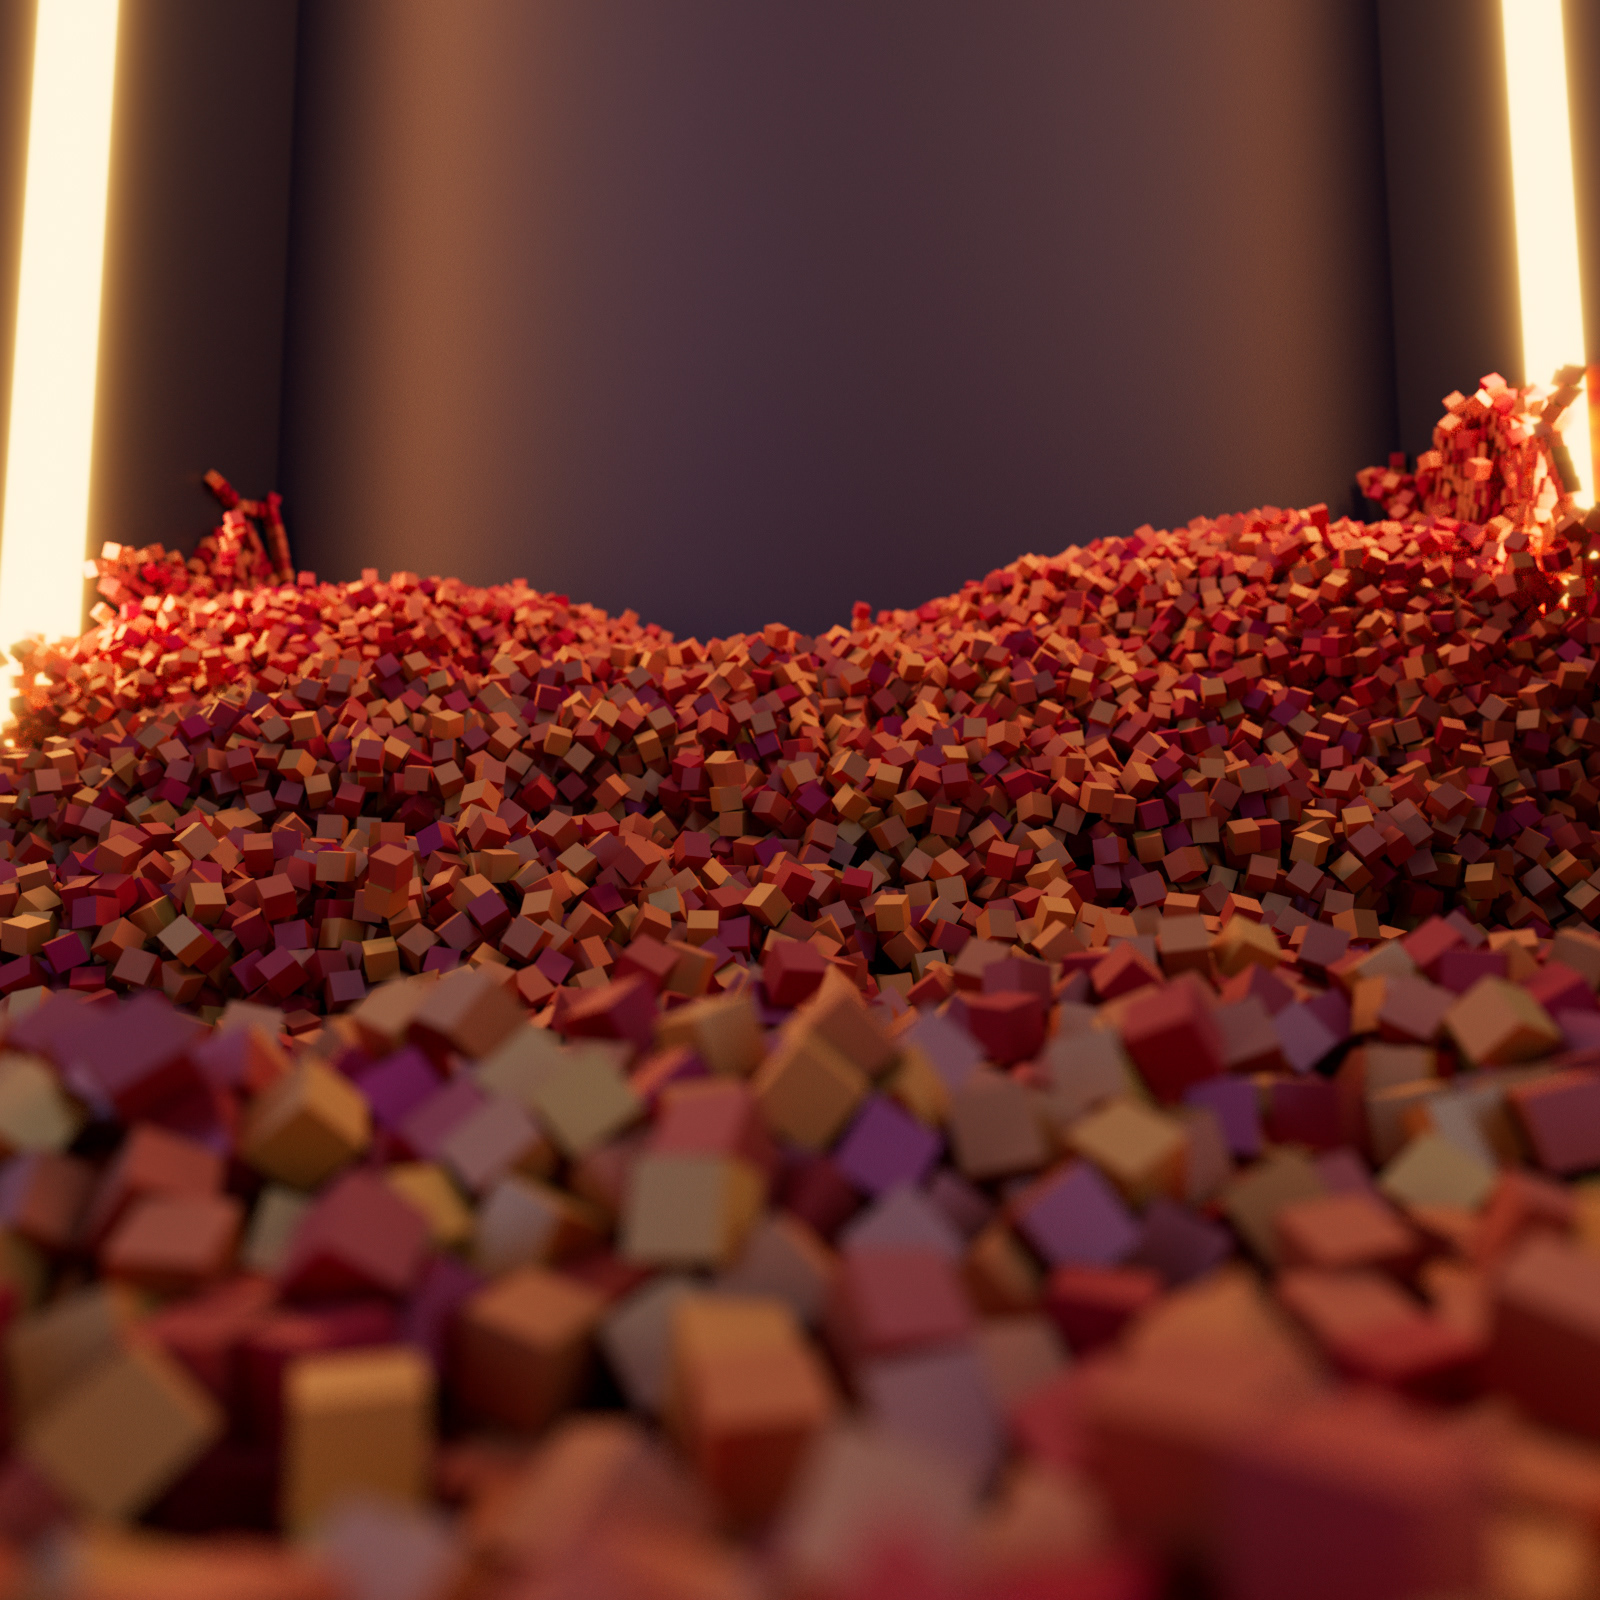
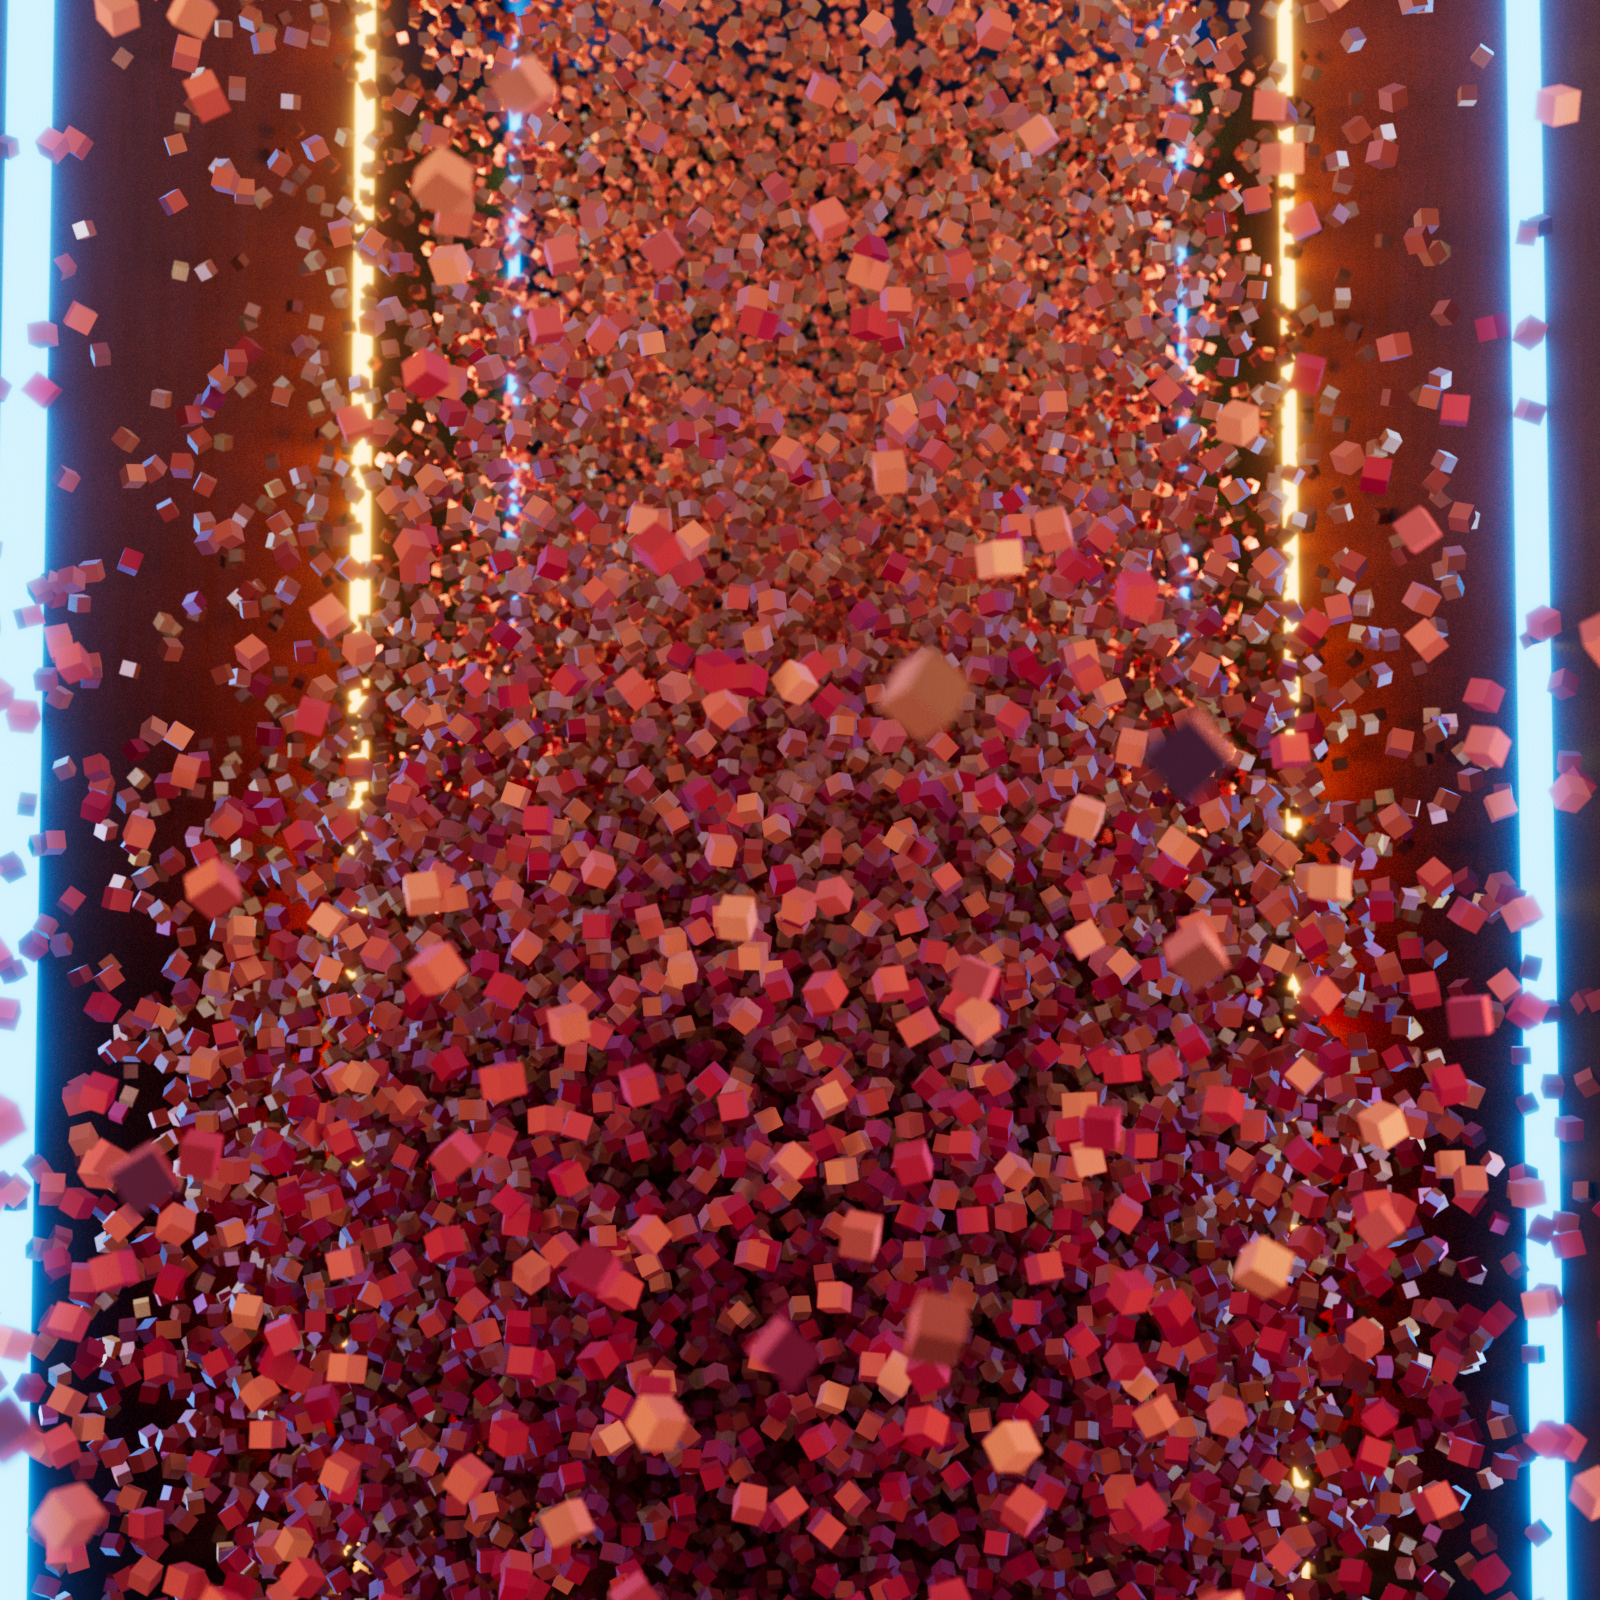
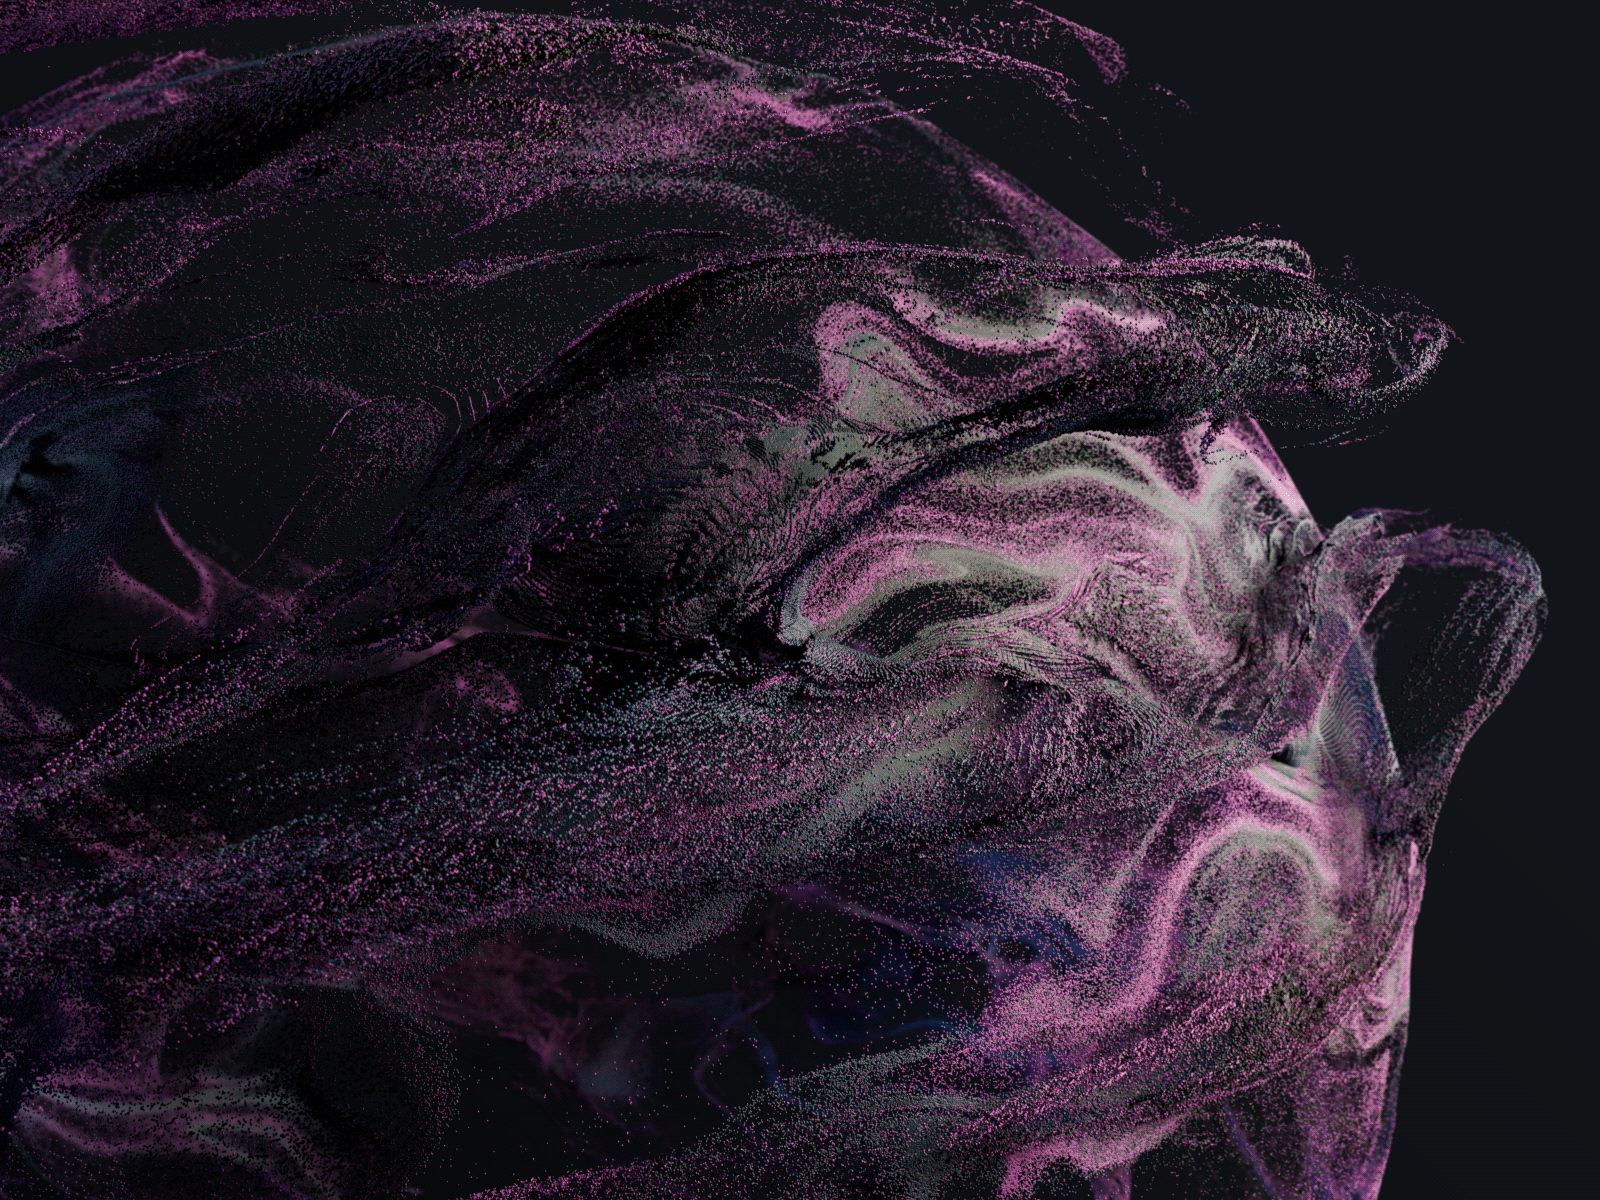
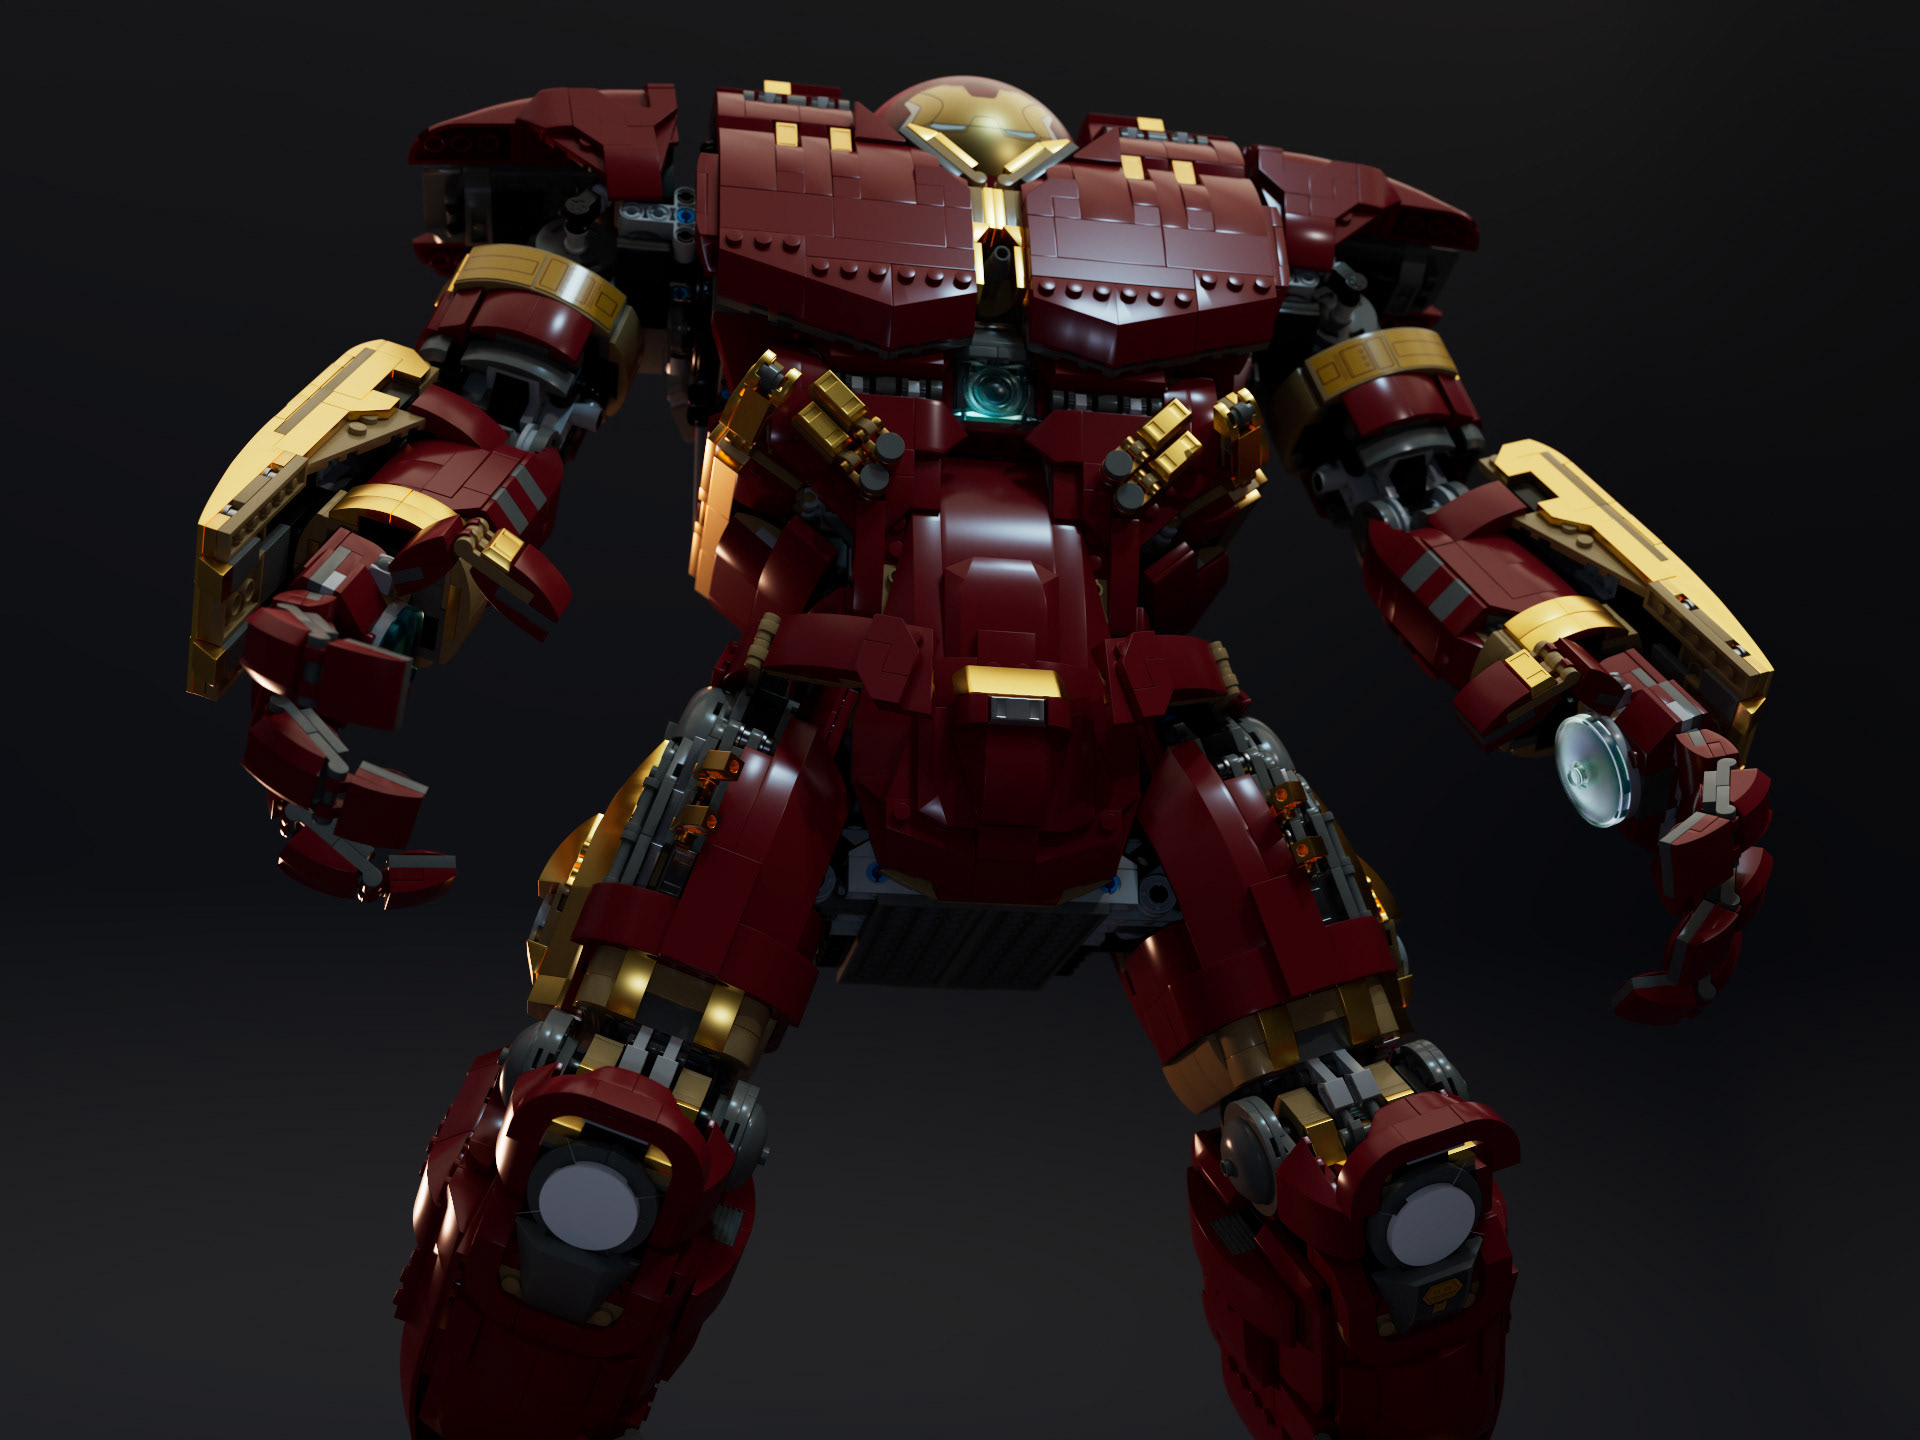
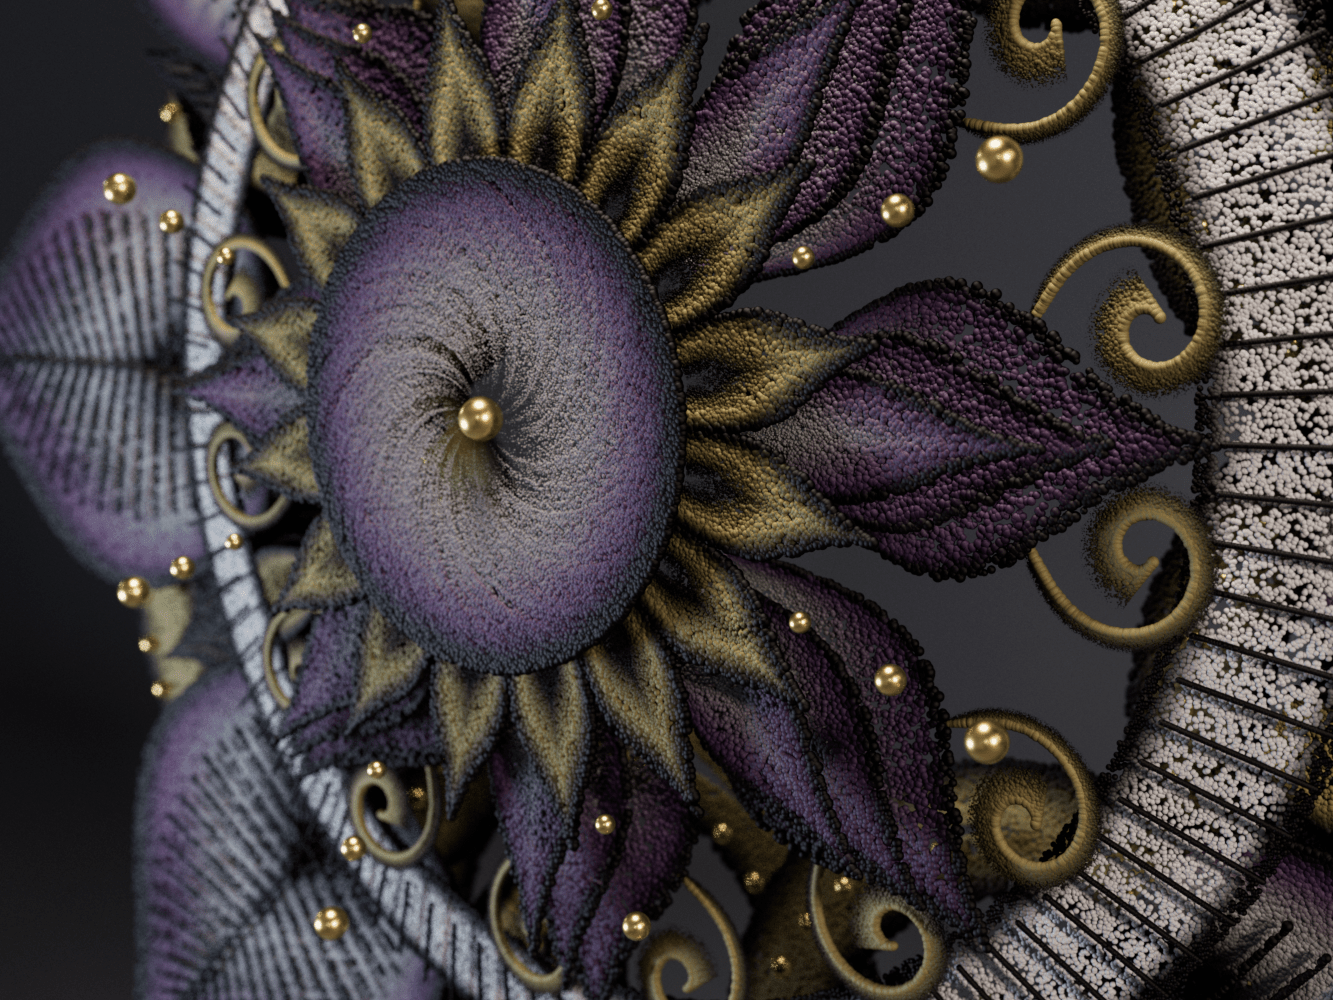
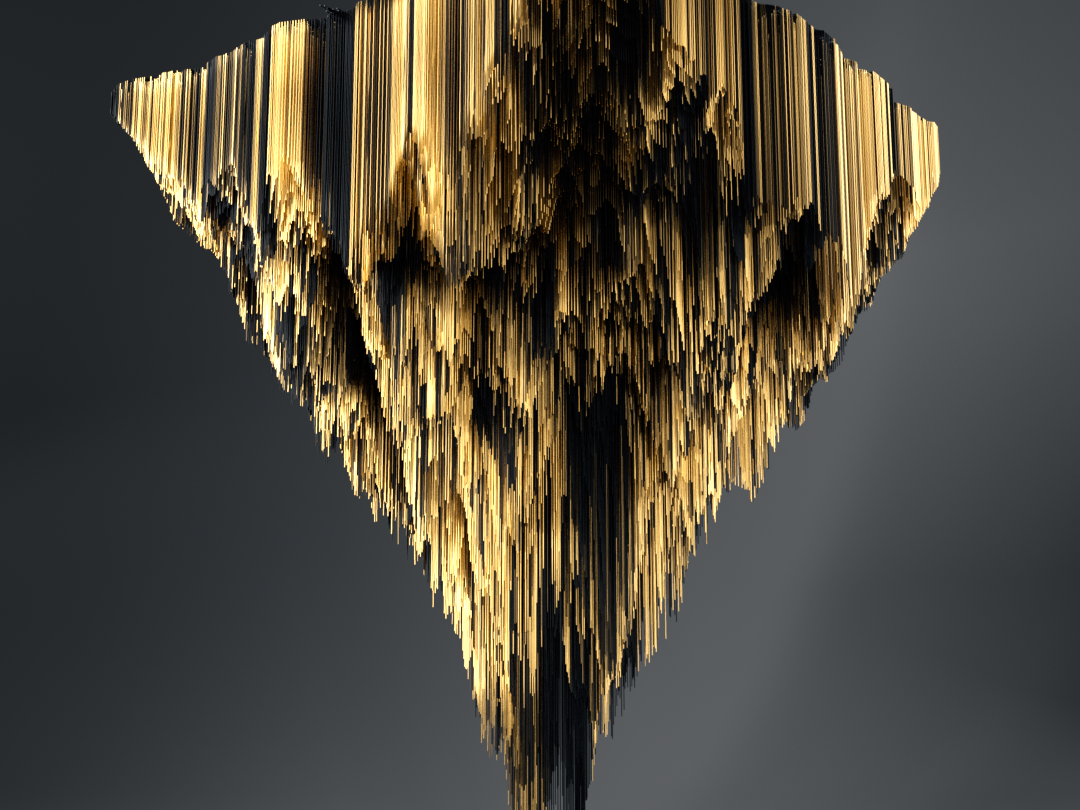
Here's the final video and some still renders I did for fun:
